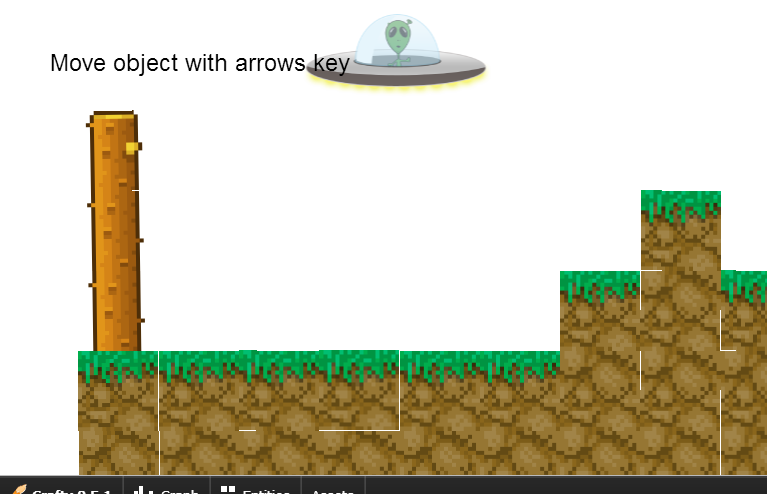
Create a basic HTML5 platformer with Crafty and Box2D – Part 2.5

Halt, brave adventurer!
This article requires some knowledge of JavaScript.
Documentation: JavaScript, Crafty, Box2DWeb (Basic Usage).
Github repo: Crafty Platformer Tutorial
A continuation of our previous quest.
Previously we created a simple level using Tiled and in this quest we will take it a bit further.
We are going to add physics to the game. This isn’t 1997, we have modern technologies nowadays so we’d better use them.
On the downside, it can be quite difficult to learn Box2D at first but it’s really fun once you get into it.
Let’s get magical!
While physics are nothing magical, they are rather fascinating. More then that, they give your game a more dynamic and realistic feeling.
Just don’t overdo it. Though physics being awesome, they do have a big impact on performance.
Enough loitering
For this tutorial we’ll need Box2dWeb and the CraftyBox2d component. Demos for Crafty’s CraftyBox2d component can be found on their GitHub page.
NOTE: If you’re interested in Box2d, I strongly recommend that you check out the demos. There is some interesting stuff in there.
Anyway, download Box2dWeb and the CraftyBox2d component.
I’m going to add the Box2dWeb library in the libs folder and the CraftyBox2d component in the components folder.
Now we just have to load both the library and the component in our JavaScript.
To load our library, we’ll have to add it to our index.html page. Very simple stuff.
<script src="src/libs/Box2dWeb-2.1.a.3.min.js"></script>
And our component, just like we did in part 2.
                // array with local components
                var elements = [
                    "src/components/MouseHover.js?v="+version+"",
                    "src/components/craftybox2d-release-uncompressed.js?v="+version+"",
                    "src/components/tiledlevel-release-uncompressed.js?v="+version+"",
                    "src/entities/base/BaseEntity.js?v="+version+"",
	    		];
And now we’ve set up our physics world. Now we just have to initialize it and we should be ready to go.
Simply call the init function. This can either be in game.js or scenes/main.js depending on when you want the physics to be enabled.
I’ve initialized it in scenes/main.js.
Crafty.box2D.init(0, 10, 32, true);
USAGE:
The first parameter is the gravity along the x-axis. In this case 0, otherwise we would be pulled to the side.
The second parameter is the gravity along the y-axis. I’ve set it to 10. This will make all physics objects fall down.
The third parameter is the “pixel-to-meter” ratio. I’ve set it to 32. That means that 32 pixels = 1 meter in the game.
The fourth parameter will allow bodies to “sleep” when they are inactive. It’s best to leave this to true for performance.
Now we should be able to work with physics!
Applying the magic.
Now let’s go and add the physics to our level.
To do this, we’ll have to edit the TiledLevel component we used in part 2. Don’t worry, it’s nothing major.
Somewhere around line 18 you should see all the components of each of our tiles.
components = "2D, " + drawType + ", " + sName + ", MapTile";
Simply add the Box2D component.
components = "2D, " + drawType + ", " + sName + ", MapTile, Box2D";
One more thing and we’re done editing.
Simply define the Box2D properties of the entity. Around line 46 you’ll see that you can set properties of the tile entity.
Just add the folowing Box2d property and we should be good.
tile.box2d({ bodyType: 'static' }); //Add the physics!
Change ‘static’ to ‘dynamic’ to see the level collapse. Really fun!
(We won’t be using that though. Just set it back to static after you’ve done playing ;))

Though before you do that, you might want to create a floor in scenes/main.js that prevents anything from falling through.
        // Create the floor
        var floor = Crafty.e("2D, Canvas, Box2D, death")
          .attr({
              isFloor: true
          })
          .setName("Box2D Floor")
          .box2d({
              bodyType: 'static',
              shape: [[0, Crafty.viewport.height], [Crafty.viewport.width, Crafty.viewport.height]]
          });
That’s the end of todays quest.
Though before you go, I’d like to give you another tip.
TIP: Use Box2D’s debug view to see which objects have physics applied to them and other useful information.
//Start the Box2D debugger
Crafty.box2D.showDebugInfo();