Create a basic HTML5 platformer with Crafty and Box2D – Part 2

Halt, brave adventurer!
This article requires some knowledge of JavaScript.
Documentation: JavaScript, Crafty, Box2DWeb (Basic Usage).
Github repo: Crafty Platformer Tutorial
Welcome back brave adventurer!
Ok, I’m going to try to explain as much as possible. Though I won’t go over the obvious stuff for obvious reasons.
First, let’s install the Crafty Boilerplate. Simple download it and extract it to your webserver’s public folder.
This should be the directory structure: (Taken from the boilerplate’s documentation)
-- src
---- components -> Crafty components files
---- entities -> Files with entities
-------- base
------------ baseEntity.js -> Base entity
---- interfaces -> We keep here files with interface entities
---- levels -> Configuration files for levels
---- scenes -> Files with scenes declarations
---- windows -> Files with logic for interface windows
---- libs -> Other libraries files
-------- backbone
-------- jquery
-------- modernizr
-------- require-jquery
-------- underscore
---- config.js -> Game configuration
---- game.js -> Main file of the game
---- sprites.js -> Sprites definitions
-- web
---- images
-- index.html -> Game wrapper
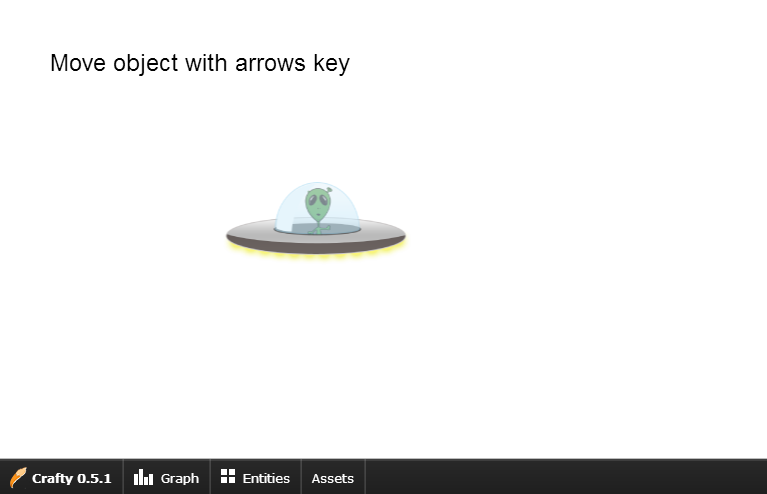
When you browse to the correct URL (using your preferred web browser), you should see the Boilerplate working.

Quite simple, no? Anyway, feel free to have a look around the Boilerplate. But for now, all you can do is move an (ugly) UFO over the screen. Hardly exciting.
So we’ll do better!
And so it begins.
The first thing we want to do is create a level. I’ll be showing you how to create tiled levels using Crafty’s TiledLevel component.
Download the component and add the JavaScript file to the Components folder.
NOTE: I prefer to download the non-minified versions of scripts so that I can modify the scripts if need be. You can always minify them later.
Now that we’ve downloaded and installed the component, we’re ready to load it.
Components are loaded in game.js. Somewhere around line 41 we can see exactly how to do that.
                // array with local components
                var elements = [
                    "src/components/MouseHover.js?v="+version+"",
                    "src/entities/base/BaseEntity.js?v="+version+"",
	    		];
So we’ll just add our new component after the one that’s already added. We should now have something like this.
                // array with local components
                var elements = [
                    "src/components/MouseHover.js?v="+version+"",
                    "src/components/tiledlevel-release-uncompressed.js?v="+version+"",
                    "src/entities/base/BaseEntity.js?v="+version+"",
	    		];
NOTE: Crafty has a built-in way to remotely load components. http://craftyjs.com/api/Crafty-modules.html
Though to be honest, I prefer to have my components on my own web server. When you have modified a component or wrote your own you will have to use the method above.
Let’s have some fun now.
The component we’re using can load maps created with Tiled. Download it and create a simple level. I’m not going to explain how to used Tiled here. You’ll have to learn that yourself. It’s not that difficult really.
Or you can be cheap and use my map and tileset.
NOTE: You have to export your level to .json.
Here’s my map. Nothing special.
{ "height":6,
 "layers":[
        {
         "data":[0, 0, 0, 0, 0, 0, 0, 0, 0, 0, 0, 0, 0, 0, 0, 0, 36, 0, 0, 0, 0, 0, 0, 0, 0, 0, 0, 0, 36, 0, 0, 43, 0, 0, 0, 0, 0, 0, 15, 0, 0, 0, 0, 43, 0, 0, 43, 0, 0, 0, 0, 0, 15, 22, 15, 0, 0, 0, 43, 0, 0, 15, 15, 15, 15, 15, 15, 22, 22, 22, 15, 15, 15, 15, 0, 0, 22, 22, 22, 22, 22, 22, 22, 22, 22, 22, 22, 22, 22, 0],
         "height":6,
         "name":"Tilelayer 1",
         "opacity":1,
         "type":"tilelayer",
         "visible":true,
         "width":15,
         "x":0,
         "y":0
        }],
 "orientation":"orthogonal",
 "properties":
    {

    },
 "tileheight":80,
 "tilesets":[
        {
         "firstgid":1,
         "image":"./web/levels/tiles.png",
         "imageheight":640,
         "imagewidth":560,
         "margin":0,
         "name":"Lemcraft",
         "properties":
            {

            },
         "spacing":0,
         "tileheight":80,
         "tilewidth":80
        }],
 "tilewidth":80,
 "version":1,
 "width":15
}
You have to change the “image” property to the folder where your level’s tileset is stored.
Back on track.
Now that we’ve created our level, let’s go and display it on our stage.
The current documentation on how to use TiledLevel is outdated.
Let me fill you in. To render your level, simply use the following code.
Best you place this in scenes/main.js at the bottom.
var map = Crafty.e("TiledLevel"); //Creates an entity with the "TiledLevel" component.
map.tiledLevel("./web/levels/level.json", "Canvas"); //Draw the level (explained below).
Usage:
The first parameter we’ll be filling in is the URL to the map. (in JSON format)
The second parameter is the render type. You can choose either Canvas or DOM. I mostly use Canvas unless I want to render text.
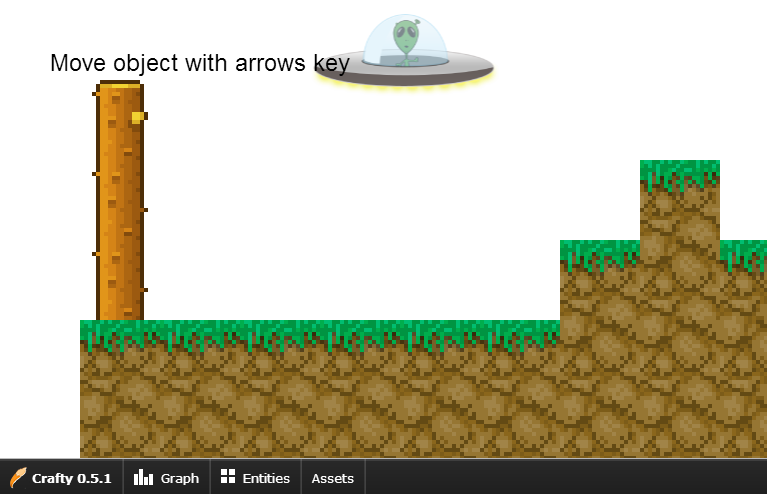
When all is well you should see your level appear!

And that concludes this part of our adventure.
I just would like to give you this small tip.
In game.js somewhere at line 14, you should see Crafty.init. Here you can set the size of the stage. By default it’s set to 800×600.
Remove both parameters and leave the function empty to stretch your game to the size of your browser window.
Crafty.init();
Hopefully I’ll see you in our next adventure!
Next chapter.
Part 2.5 is ready. Read the next chapter: https://michieldemey.be/blog/create-a-basic-html5-platformer-with-crafty-and-box2d-part-2-5/.